REVIEW · RIO DE JANEIRO
Rio de Janeiro: Hang Gliding Tandem Flight
Book on GetYourGuide →Operated by ASA DELTA RIO DE JANEIRO · Bookable on GetYourGuide
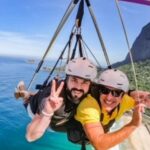
Flying over Rio beats sightseeing. In Tijuca National Park, you’ll launch from the Pedra Bonita ramp for a tandem hang gliding ride that turns Rio’s postcard views into a moving panorama. Two things I love: the coastline look you only get from the air, and the way the instructors (often names you’ll hear like Beto, Bebe, Dudu, Renato, Hernan) keep you calm and steady before you take the leap. One possible drawback: the actual flight time is short—about 7 to 15 minutes—so you’ll want that GoPro setup and good camera posture from the start.
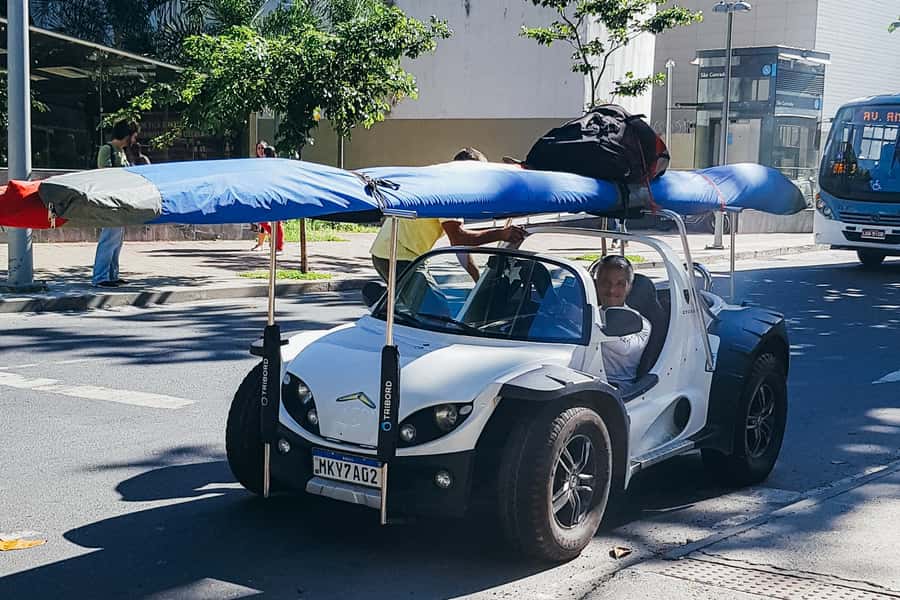
You have a couple ways to start: hotel pickup in many Rio neighborhoods, or meet at the São Conrado Subway station area for transfer. Then it’s a roughly 15-minute jeep ride into the park to the ramp, where you’ll do a safety briefing and a rehearsal before takeoff. The operation runs on wind conditions (they’ll decide hang gliding vs paragliding), so your day is partly scheduled around weather, not just the clock.
In This Review
- Key points to know before you go
- From São Conrado to Tijuca: how the day starts
- Pedra Bonita ramp in Tijuca National Park (520 m up)
- Safety briefing, rehearsal, and the wind decision
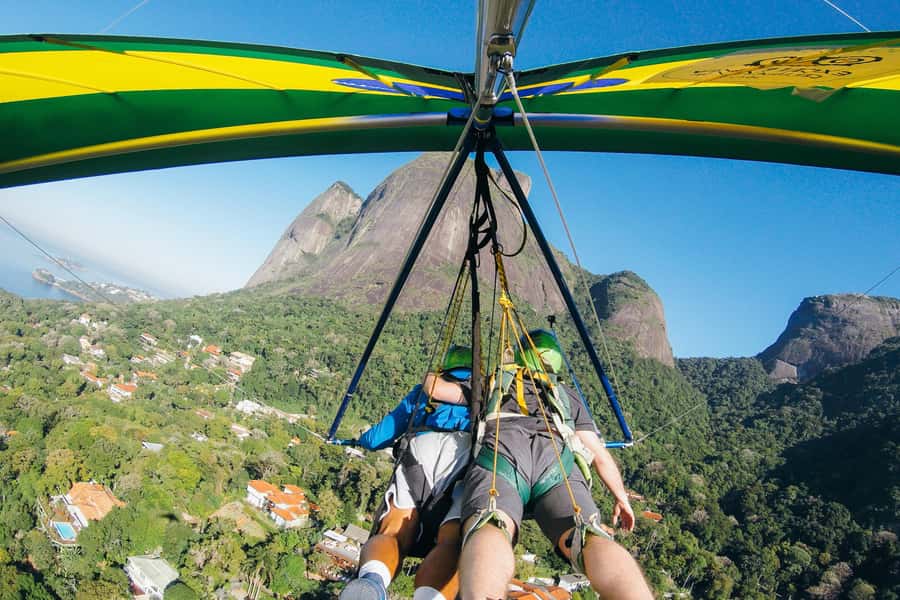
- The 7–15 minute tandem flight: what you’ll actually see
- Landing on the beach at São Conrado and getting your footage
- Who this is best for, and who should skip it
- Price ($301) and value: what you’re really paying for
- What to bring and what to leave behind (so you’re not stuck at the ramp)
- Weather, timing, and why your flight window matters
- Should you book this Rio tandem hang gliding flight?
- FAQ
- How long is the whole experience?
- How long will I be in the air?
- Where do I launch from?
- Where does the flight end?
- Is pickup from the hotel included?
- What’s included in the price?
- Do I have to buy flight insurance?
- Are side and 360 video options included?
- Are there age or weight limits?
- What should I bring for the day?
Key points to know before you go
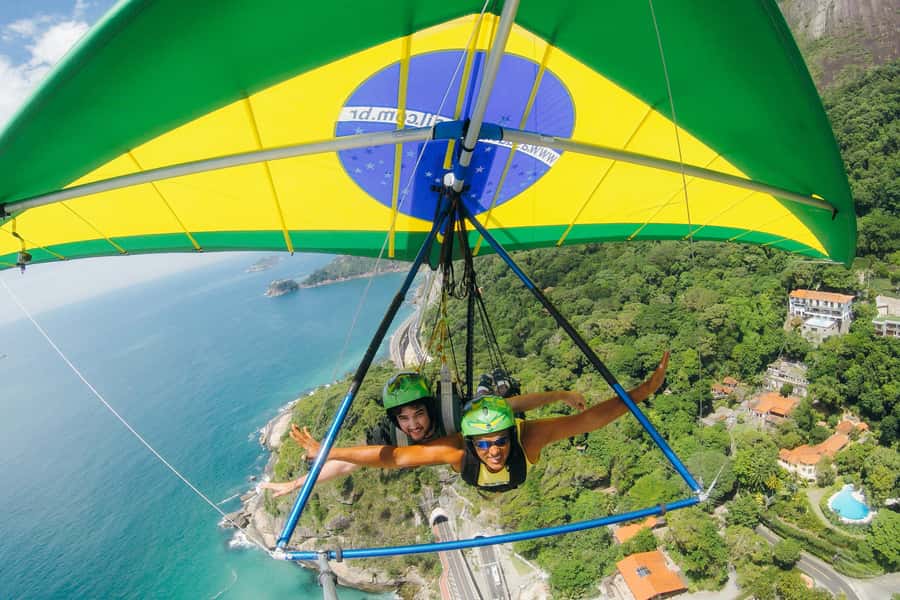
- Pedra Bonita ramp launch: high viewpoint in Tijuca National Park for big ocean-and-city angles
- Tandem flight with pros: you fly with an experienced instructor and get guidance all the way
- GoPro capture included: your flight is filmed using cameras attached to the wing, with an HD digital video provided
- Wind decides the flight type: hang gliding or paragliding depending on conditions
- Short time in the air: plan to savor the moment during the 7–15 minute ride
From São Conrado to Tijuca: how the day starts
The whole experience is built around one goal: getting you from Rio’s streets up to a launch point where the wind does the work. Most people start with pickup from the operator’s covered areas—places like Ipanema, Copacabana, Leme, Leblon, Gávea, Lagoa, Botafogo, Flamengo, Urca, and even Barra da Tijuca. If you’re closer to the action, you can also start from the São Conrado Subway station area.
After pickup, you’ll transfer by jeep toward Tijuca National Park. Expect a ride that’s short but very much part of the adventure—trees give way to viewpoint road, and you can feel the difference when you’re nearing the takeoff zone at about 520 meters / 1,700 feet above sea level. On clearer days, you’ll start getting that big-sky sense right away. On cloudier days, you’ll learn quickly that visibility is a factor and waiting can happen.
A nice touch is that you’re not thrown in blind. You’ll meet your instructor and go over the basics before anything lifts off. That matters because this is one of those activities where your brain wants proof you’re safe. If you’re the type who needs a clear plan and someone to explain what’s next, the staff’s step-by-step approach tends to land well (and reviews repeatedly mention calm, confidence-building guidance from instructors like Beto and Renato).
Pedra Bonita ramp in Tijuca National Park (520 m up)
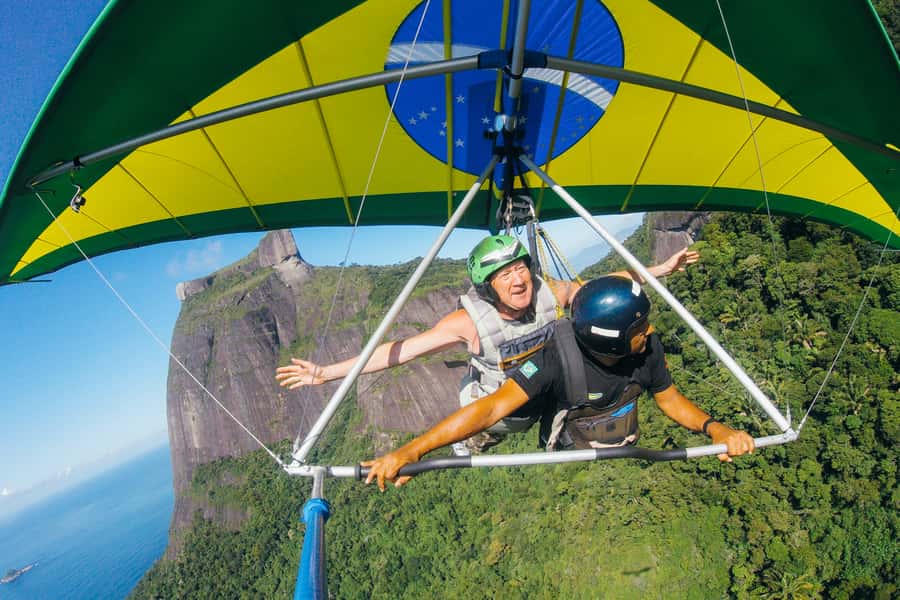
Pedra Bonita is the star of the show. This is the hilltop ramp where your tandem flight begins, and it’s high enough to give you sweeping views of the Atlantic Ocean, Rio’s coastline, and the major landmarks that define the city’s skyline.
Here’s why that ramp location is such good value: it saves you from wasting time on viewpoints that only work in one direction. From the air, the scenery moves across you. You get the coast in context, including the shape of beaches and bays—things that look flat from ground level suddenly have depth and scale.
And you’re not just looking outward. From the launch area and during the run, you’re also learning the rhythm of how the flight happens—rehearsal steps, body position, and what your instructor will ask you to do. Many first-timers are nervous at this point, but the staff seems used to that. You’re given a briefing, then you rehearse before takeoff, so the moment doesn’t feel like a total leap into the unknown.
One practical note: this activity is not recommended if you weigh more than 92 kg, because they rely on wind conditions and flight setup. Also, if you’re traveling with someone who is pregnant, or if you’re under 14, this isn’t a fit. The whole operation has safety rules for a reason, and respecting them keeps everyone’s experience better.
Safety briefing, rehearsal, and the wind decision
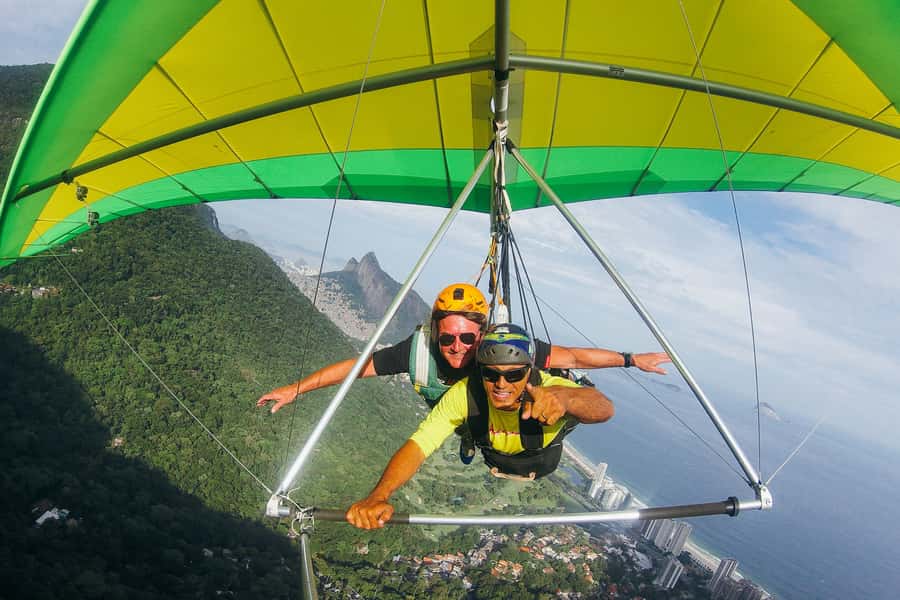
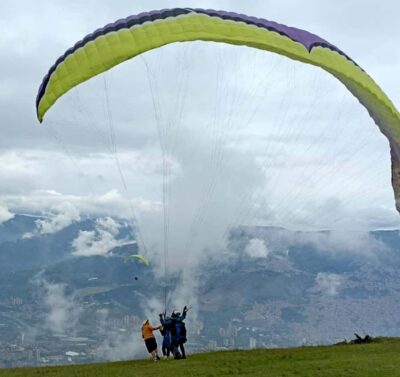
Before you fly, you’ll do a safety briefing and a rehearsal. Think of it like a quick training session—but with the best possible reward at the end. You’ll review what to wear, what to hold, and how to react while you’re moving through the air. You’ll also get a clear sense of what your instructor expects from you.
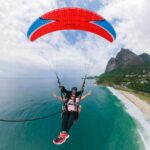
Then comes the wind check. The operator depends on wind conditions to decide between hang gliding or paragliding. In other words, your flight experience is not only about “doing hang gliding.” It’s about matching the conditions to the right kind of flight for safety and smooth performance. Some people get hang gliding; others end up paragliding when conditions push in that direction.
This is also where you can shape the vibe a bit. If you want more adrenaline, you can ask your instructor—just don’t wait until the last second. Make it part of the pre-flight conversation so they can plan the flight style.
A few small safety and comfort items can make a big difference here:
- Biodegradable sunscreen and biodegradable insect repellent matter because you’ll be outdoors at the ramp.
- Comfortable clothes and shoes help you stay relaxed during walking, gear checks, and the takeoff steps.
- If you’re bringing a charged smartphone, you’re set for quick moments before and after—just expect the main memory to live in the provided footage.
Also, follow the no-jewelry rule. You’ll likely be wearing gear near your body, and loose items are just asking to be annoying.
The 7–15 minute tandem flight: what you’ll actually see
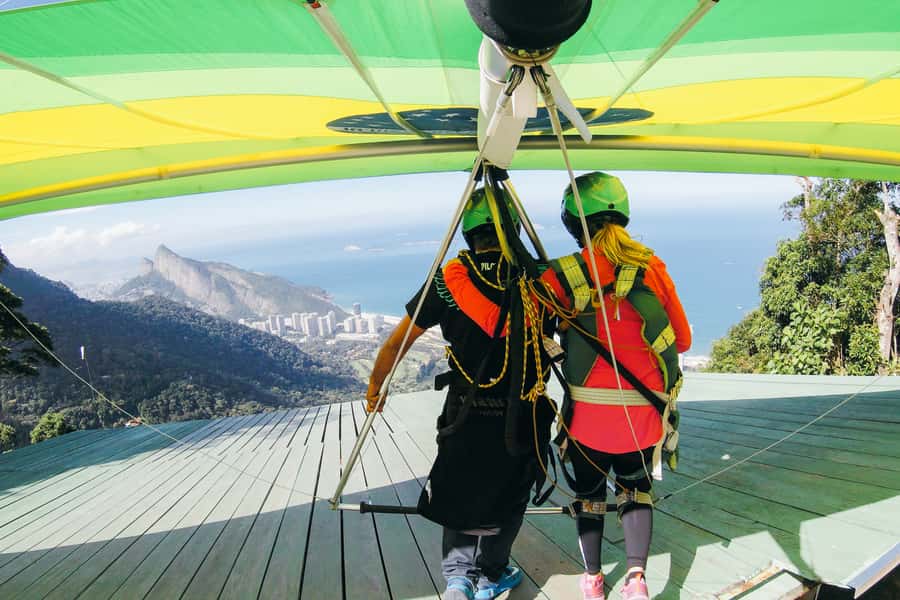
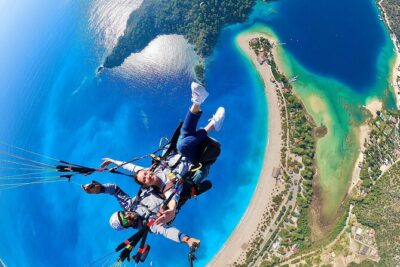
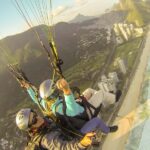
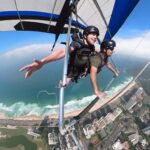
Let’s talk about the part you’re paying for: the flight. It’s typically about 7 to 15 minutes in the air, depending on wind. That’s not a long time—but it’s enough to feel like you’re gliding above the city and ocean instead of merely touring them.
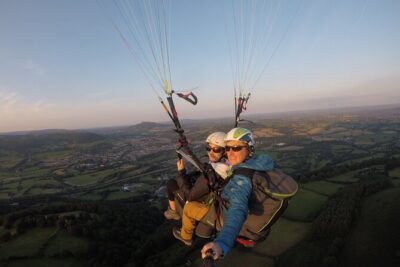
Your instructor controls the flight, and you’re there to experience it and follow guidance. This is why tandem is such a smart first step if you’ve never flown before. You don’t have to manage the technical stuff; you focus on staying comfortable, listening closely, and enjoying the view.
What you’ll see is the reason Rio works so well from above:
- The Atlantic Ocean and the sweep of beaches
- The coastline city pattern—how neighborhoods and bays stack up visually
- Guanabara Bay
- Sugarloaf Mountain
- The statue of Christ the Redeemer (visible from above when conditions and timing line up)
- Plus more coastline angles that don’t show up from typical street-level viewpoints
You’ll likely have moments where you’re thinking, okay, I get it—this is why people talk about Rio’s views. Then you’ll realize it keeps changing. Air gives you angles and scale shifts that are impossible to fake with a photo.
And yes, if you’re expecting nonstop cinematic motion, temper that. You’ll have a steady, controlled glide—then a smooth landing. The best part is that it feels effortless while you’re up there, which makes the experience feel safer and more enjoyable, especially for nervous first-timers.
Landing on the beach at São Conrado and getting your footage
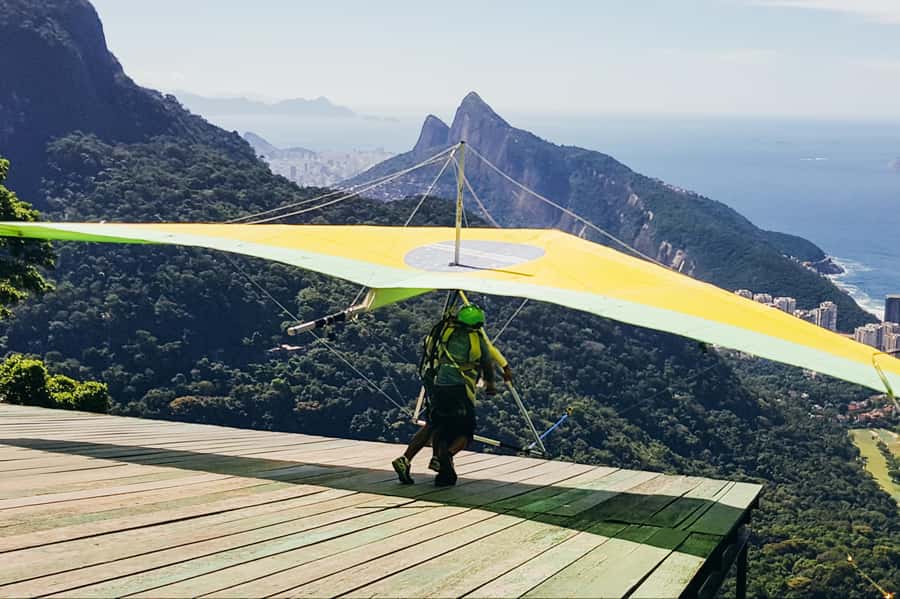
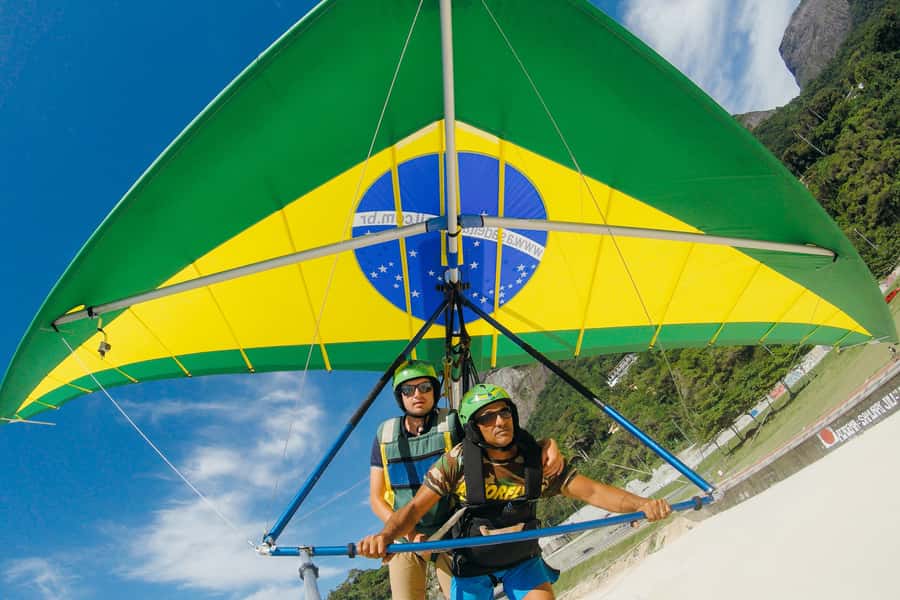
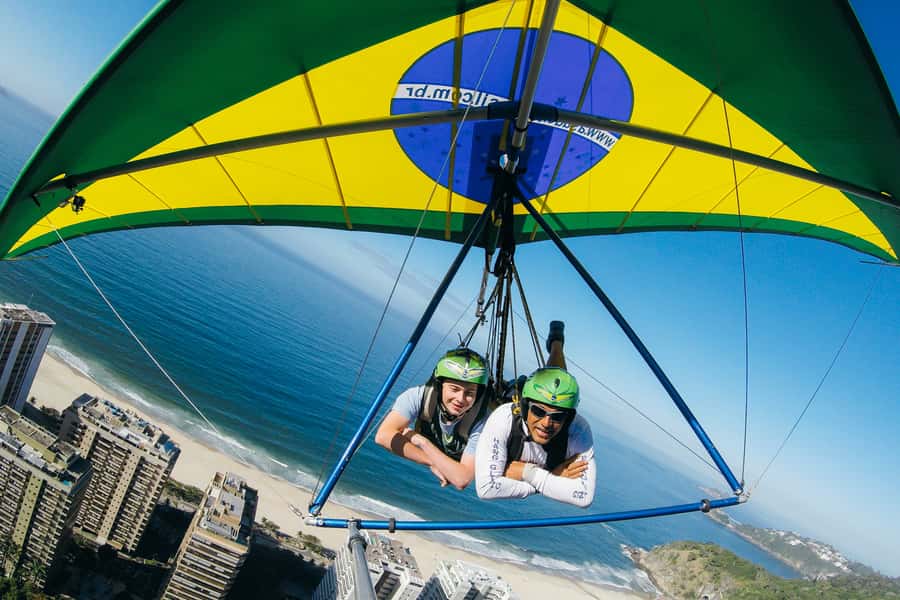
The flight ends with a smooth landing on the beach at São Conrado. The landing setup keeps things simple: you’re not walking back from a remote mountain trail. It’s one of those logistics choices that makes an extreme activity feel more accessible.
On the filming side, you’re not left holding your breath for a shaky phone video. GoPro cameras are attached to the wing, capturing the flight from your perspective. You also get 1 digital HD video as part of the package. In practice, many people end up with a front-view file they can immediately replay, and the whole point is that you don’t have to worry about camera handling mid-flight.
A common extra you might see offered is additional camera angles:
- Side and rear views can be purchased
- A 360-degree camera option is often treated as the upgrade people regret not getting
Jack’s review notes that only the front camera recording is included, while the other angles are paid add-ons, and he specifically calls out that the 360 option is worth it. If you’re a visual souvenir person, this is the one place where paying extra can actually improve the memory—because it turns your flight into a “watch it again” experience instead of one flat viewpoint clip.
One more tip: if you have your own GoPro, you can bring it and attach it to your flight helmet (ask your instructor at the start). That way, you control your own angle—but still let the wing cameras do the heavy lifting.
Who this is best for, and who should skip it
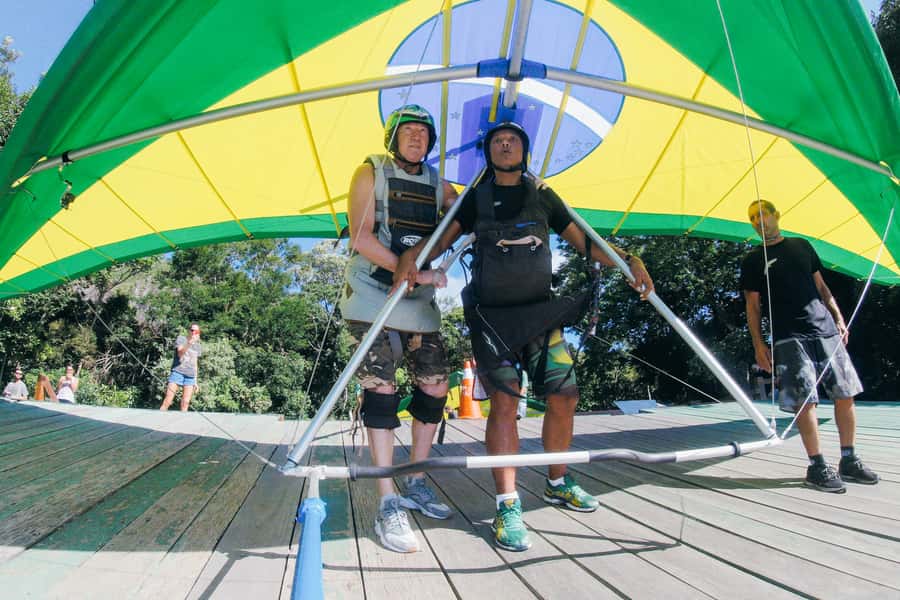
This is a strong fit if you want a true adrenaline-with-instruction experience. You’ll likely enjoy it most if you:
- Like views that change in real time
- Want a guided, safety-first thrill
- Are comfortable following directions during a brief, exciting window
It’s also a good option if you’re traveling with mixed comfort levels. The staff and pilots repeatedly show a knack for calming nerves. People mention specific guides by name—Beto, Bebe, Dudu, Renato, Hernan, Hilton, and more—which suggests the operator has a deep roster of experienced instructors. Whether you’re chatty or quiet, that support tends to matter.
But skip it if you fit any of the stated limits:
- Children under 14
- Pregnant women
- People over 95 years
- People weighing more than 92 kg (wind and safety setup)
If you’re on the fence because it sounds intense, don’t overthink it—this is tandem, and you’ll get briefing and rehearsal. But respect the limits. The whole setup is designed around safe operation, not just getting bodies into the air.
Price ($301) and value: what you’re really paying for
At around $301 per person for 150 minutes total activity time, this isn’t a cheap “tour photo” experience. The value comes from three things you don’t get at normal viewpoints:
- High-altitude perspective without training or pilot licensing
- A tandem setup with an experienced instructor, plus safety briefing and rehearsal
- Built-in filming, including an HD digital video and wing-mounted camera coverage
You’re also not paying extra for basic transfers if you select hotel or subway pickup (pickup and drop-off apply when you choose those options). That helps because getting to Pedra Bonita and back takes coordination, not just directions on your phone.
One more cost consideration: flight insurance is required and is not included. The info you’ll use on the day says you must purchase it at the meeting point, around 120 BRL or about 21 USD. That can be a surprise if you’re budgeting tightly, so plan for it from the start.
If you want the cleanest value decision: buy the base flight if you’re excited about the view and want the included HD video. Add camera upgrades only if you’re someone who replays footage often or wants a full wraparound view (the 360 option is commonly treated as the upgrade that makes the memory feel complete).
What to bring and what to leave behind (so you’re not stuck at the ramp)
Pack smart, because what you wear affects comfort during briefing, gear handling, and takeoff. Here’s what to bring:
- Passport or ID card
- Comfortable shoes (no high heels)
- Comfortable clothes for outdoor windy conditions
- Charged smartphone (for quick after-landing moments)
- Biodegradable sunscreen
- Biodegradable insect repellent
- (Optional) your own GoPro if you want to attach it to the helmet
And leave behind anything that causes delays or breaks the rules:
- Jewelry
- Pets
- Weapons or sharp objects
- Oversize luggage
- Drones
- No smoking in the vehicle or indoors
- No alcohol or drugs
- No littering
One comfort tip based on what people learned the hard way: bring insect repellent seriously. Several reviews mention mosquitoes and recommend spraying before going up. If you’re someone who usually forgets bug spray, this is where you don’t. Your future self will thank you while you’re waiting near the ramp.
Weather, timing, and why your flight window matters
This is a weather-dependent activity. Even with a scheduled pickup, wind and visibility can change when you actually fly. The operator decides whether it will be hang gliding or paragliding based on wind conditions, and cloud cover can affect what you see.
In practice, that means you should plan your day with slack. The total duration is about 2.5 hours, but that includes time for transfer, briefing, rehearsal, and the possibility of waiting for the right conditions.
If you’re trying to stack other Rio activities the same day, keep it realistic. If the skies are stable, everything can feel fast. If conditions are variable, expect waiting at the ramp area.
The good news: even when weather is not perfect, the flight is still the highlight. One review mentions they went despite rain and cloud, and still had an incredible experience. Still, bring the right gear mindset: you’re going outside at height, so treat it like a short outdoor expedition, not a quick indoor ticket.
Should you book this Rio tandem hang gliding flight?
Book it if you want a one-time view of Rio that you can’t replicate from the ground. The launch from Pedra Bonita plus a tandem instructor plus wing-mounted cameras make it a high-reward experience for first-timers, especially if you care about safety and clear guidance.
Don’t book it if you don’t fit the limits (under 14, pregnant, over 95, or over 92 kg) or if you’re expecting a long time in the air. The flight is brief by design—7 to 15 minutes—so your enjoyment hinges on taking the moment seriously and letting the filming do its job.
If you’re a camera person, consider investing in the extra angles like 360, since only the front view and included HD video are part of the base package. And if you’re budget-sensitive, remember the required insurance purchase at the meeting point.
FAQ
How long is the whole experience?
The total activity time is about 150 minutes (around 2.5 hours), including pickup/transfer, briefing, and the flight.
How long will I be in the air?
The flight itself is usually about 7 to 15 minutes, depending on wind conditions.
Where do I launch from?
You launch from the Pedra Bonita ramp in Tijuca National Park, about 520 meters (1,700 feet) above sea level.
Where does the flight end?
Your tandem flight ends with a smooth landing on the beach at São Conrado.
Is pickup from the hotel included?
Pickup is optional. Hotel pickup and drop-off are available if your hotel is within the listed pickup areas. You can also start from the São Conrado Subway station area.
What’s included in the price?
Included: the tandem flight, experienced instructor, 1 digital HD video, and optional subway station pickup/drop-off or optional hotel pickup/drop-off.
Do I have to buy flight insurance?
Yes. Flight insurance is required and must be purchased at the meeting point (about 120 BRL or 21 USD).
Are side and 360 video options included?
The included footage covers the front-camera view. Side/rear camera views and a 360 option can be available as paid add-ons.
Are there age or weight limits?
Yes. It’s not recommended for people weighing more than 92 kg. The minimum age is 14. It’s also not suitable for pregnant women, and people over 95.
What should I bring for the day?
Bring an ID or passport, comfortable shoes and clothes, biodegradable sunscreen, biodegradable insect repellent, and a charged smartphone. You should also follow the no-jewelry and no-drones rules.